
Google Classroom workflow using doctopus and goobric
Click for video tutorial
|
Create a new spreadsheet:
|

|
|
Now select a Roster (Ingest from Google Classroom)
|
|
Now select a Roster (Ingest from Google Classroom)
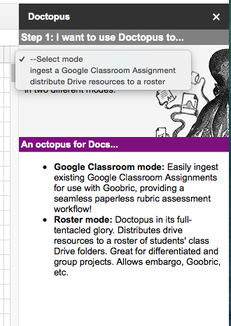
- Click on add-ons and then click Doctopus and launch.
- In the sidebar you will need to choose ‘Ingest Google CR assigment’.
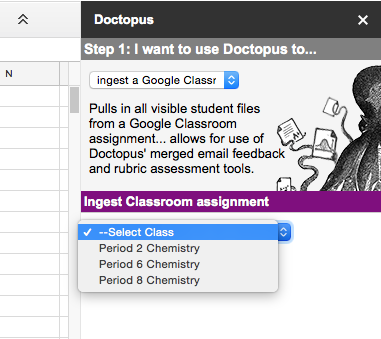
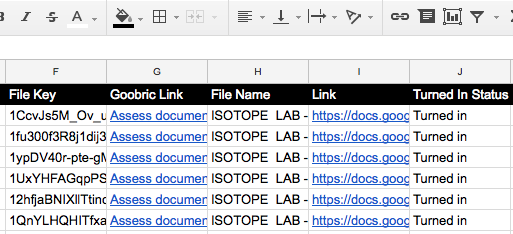
- This pulls in all the information and links from your assignment onto this handy spreadsheet.
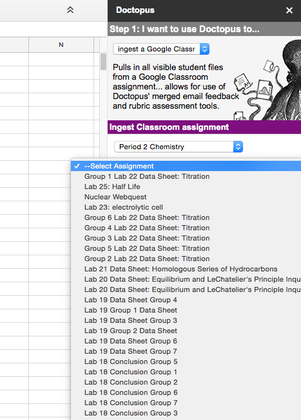
- Follow the instructions to choose your class and then the assignment then press the ‘Ingest Assignment’ button.
|
|
Goobric
Create a marking rubric in Drive. (click on the link to see how it is set up or use mine as a template) [click here]
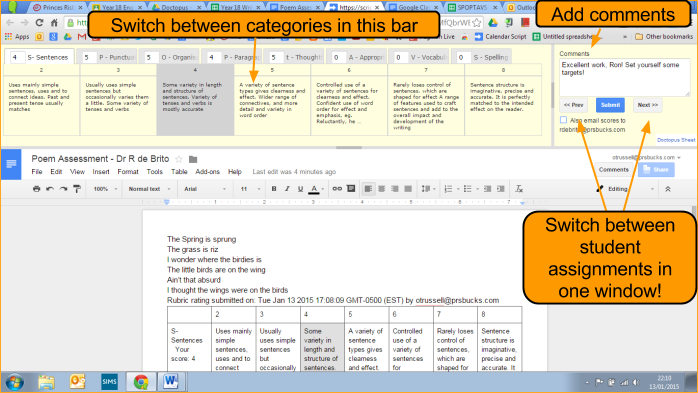
- Goobric allows you to use marking rubrics incredibly easily with Google Docs. It’s easier than ever with the new web app which displays the rubric at the top of the screen and allows you to flick between different student’s assignments at the touch of a button.
Create a marking rubric in Drive. (click on the link to see how it is set up or use mine as a template) [click here]
- Create a new Spreadsheet in your Google Drive. Either copy and paste a marking rubric or create your own.
- Score values go in row 1 (Can be numeric or non-numeric)
- Skills/categories go in column 1
- Cell A1 must be blank
|
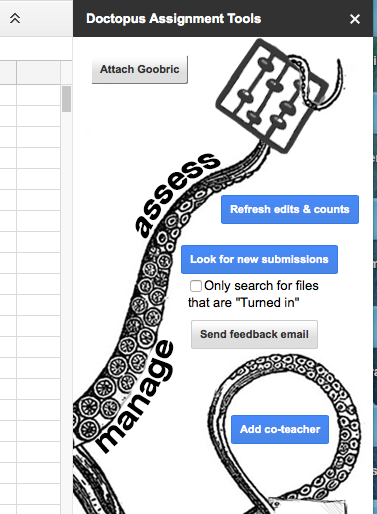
Click ‘Attach Goobric’
|
|
Grading
|
|
****Special thanks to Oli Trussell, Google Certified Teacher, Google Education Trainer for the content